
By Levi Henrikson
Many solo entrepreneurs make the mistake of not getting online because they perceive it as something that is difficult to do. In the early 2000s this was the case, but now it is easier than ever to put up a website.
You only need 3 things to get online: a domain name, a hosting service, and a theme. If you follow the simplified approach we will discuss today, you could literally be online by tomorrow!
Step #1: Get a Domain Name
The first thing you need is a domain name. The domain is what someone would type into the address bar when they would want to visit your site:
![]()
Ideally, you want a domain that is short, memorable, and conveys what your business is about.
If you already have a business name you should use that as your domain name if you can.
If you don’t have a business name you can use a tool like Shopify’s Business Name Generator to get some ideas.
Simply put in a word that you would like your business name to include…

…and it will spit back dozens of ideas:
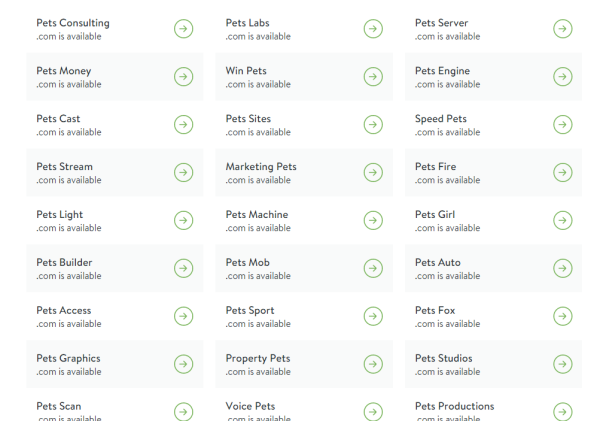
Most importantly, these are all domain names that are currently available so you don’t have to worry about coming up with something that’s already taken.
While you don’t want to obsess too much about finding the “perfect” name, you do want to make sure that have a really good name. A poorly chosen name could mean that no one will remember you so you won’t be able to position yourself as a leader in your market.
List out at least a dozen or so potential names that you like. Talk to your friends and ask them what they like. Or better yet, talk to your potential customers.
Once you have settled on a name you need to purchase the domain name from a domain registrar. I like NameCheap.com because they are easy to use, the prices are good, and you don’t get bombarded with a bunch of ads during the process.
Now you own the domain name for whatever you chose. But this doesn’t mean anything until you actually get that domain name actually connected to the Internet.
Step #2: Get a Hosting Service
A web hosting service is essentially a service that makes your website accessible to other users on the Internet.
On the surface, all hosting companies seem the same and they are all competing for your attention to convince you to use their services. Don’t give into their offers. Sometimes the hosting service best suited for your needs is not the one that is best advertised.
Some services are cheap and simple, others are high performance and more costly and still others are just costly and mediocre. Be sure to read the reviews and pick the one best suited for your situation.
After you sign up for a hosting service, you will need to redirect your domain to point to your hosting company’s server. Most companies will include an instructional video on how to do this.
You could outsource this process if you wanted but you still have to find and retrieve the appropriate information anyways in order to pass it on to your hired help. In most cases, it will actually be faster and easier to do this yourself. This is the most technical part of the whole process.
Step #3: Install a WordPress Theme
After you deal with that (short) headache you will want to install WordPress on your site.
Most hosting companies have a button you can click from their menu to immediately install the latest version of WordPress:
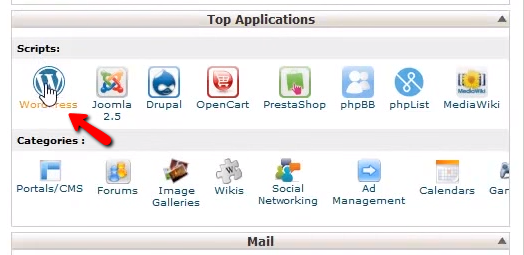
(Image Source: How To Get Online)
If you can’t find it then contact customer support and ask them to guide you.
The reason you want to install WordPress is because it enables you to create new web pages without having to do any coding, yet it’s flexible enough where someone who does know coding can customize it to do what you need it to do.
The other big benefit of using WordPress is that you will not need to pay hundreds or even thousands of dollars to get a beautiful looking website. You can find many professional looking themes for under $100 that not only look great but are also optimized to make your content look and feel engaging to the visitors.
You can find some excellent WordPress themes at StudioPress or Thrive Themes. If you’d prefer not to spend any money right away you can simply select a free theme from WordPress’s existing library.
Once you purchase a theme you will be given a ZIP file download. To install it you simply login to your WordPress dashboard, go to “Themes” then “New Theme” and upload that zip file:
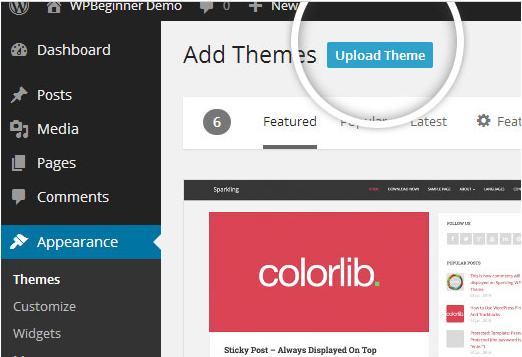
If you need further instruction on installing your theme here is a helpful guide from WP Beginner.
Once you get your WordPress theme installed then you are ready to go! You can customize your site and create content all from the WordPress interface—no coding needed! You just need need a domain name, a hosting company, and a WordPress theme.
Now get out there and start sharing your passion!
Levi Henrikson is a freelance writer who enjoys Celtic music and percussion, marketing, personal finance, and personal development. He is a proud father and husband.


